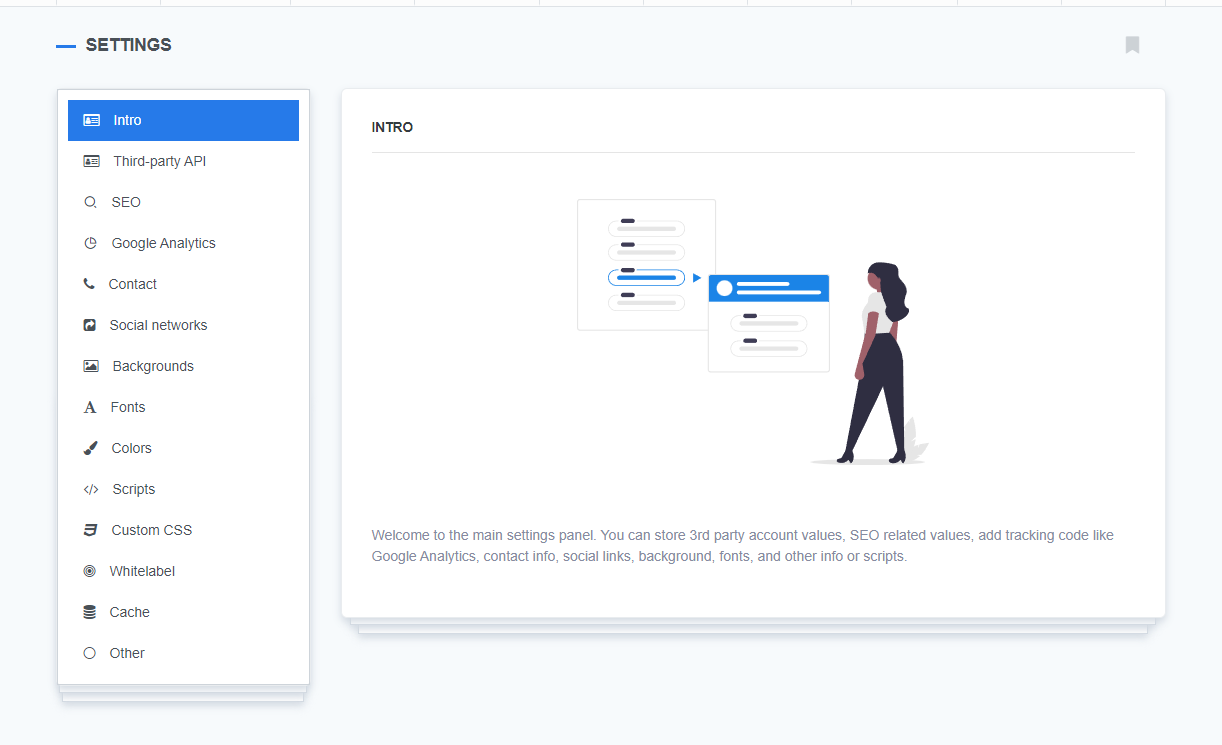
The General Settings section is the foundation of your ReadyCMS setup. This section allows you to configure various system-wide settings, store third-party account values, manage SEO-related attributes, and implement tracking scripts. It also provides tools to customize your website’s appearance and functionality by adding backgrounds, fonts, social links, and other custom elements.
Important:
Proper configuration of ReadyCMS General Settings is essential for optimal performance, security, and visibility. It enhances site speed, improves SEO discoverability, reinforces your branding, and boosts functionality with seamless third-party integrations.
The General Settings panel in ReadyCMS is located on the main Settings panel and is primarily designed for developers.
How to reach General settings
- Login: Sign in to your ReadyCMS account
- Navigate: Go to
Settings>General - Configure: Use various developer tools for additional functionalities (third-party API, SEO verification codes, Google Analytics, etc.)

Managing general settings
Customization on the main settings panel is done via adding new attributes (key-value pairs) and implementing various scripts (JavaScript codes):
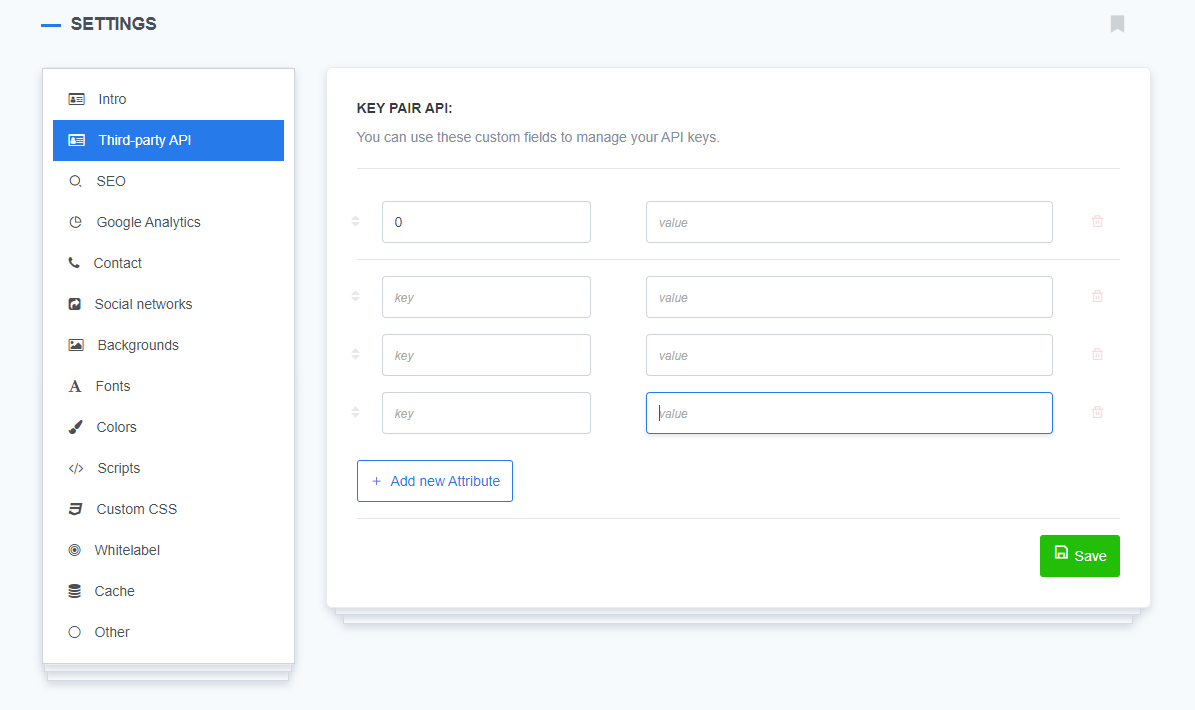
- Third-party API
Store and manage API keys for third-party services. Use the custom fields to securely store API credentials for services like payment gateways, CRMs, marketing platforms, and other integrations.
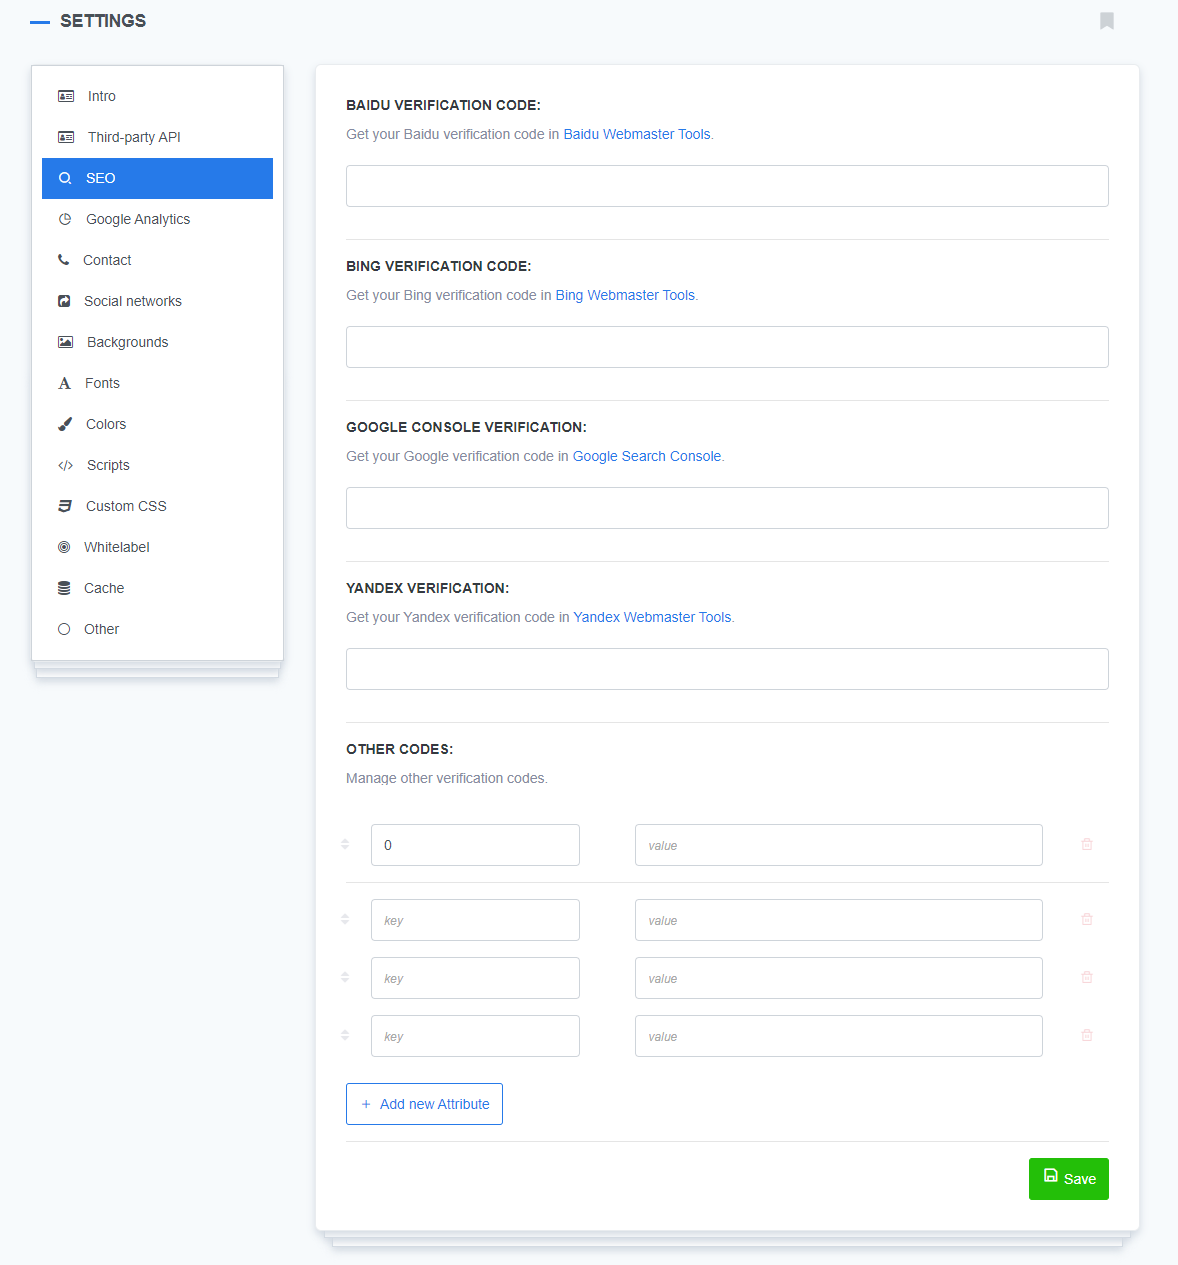
- SEO
Ensure proper site verification for search engines. Input verification codes for Google Search Console, Bing, Yandex, Baidu, and other platforms to confirm your site's ownership. This allows the search engines to track and index your site correctly.
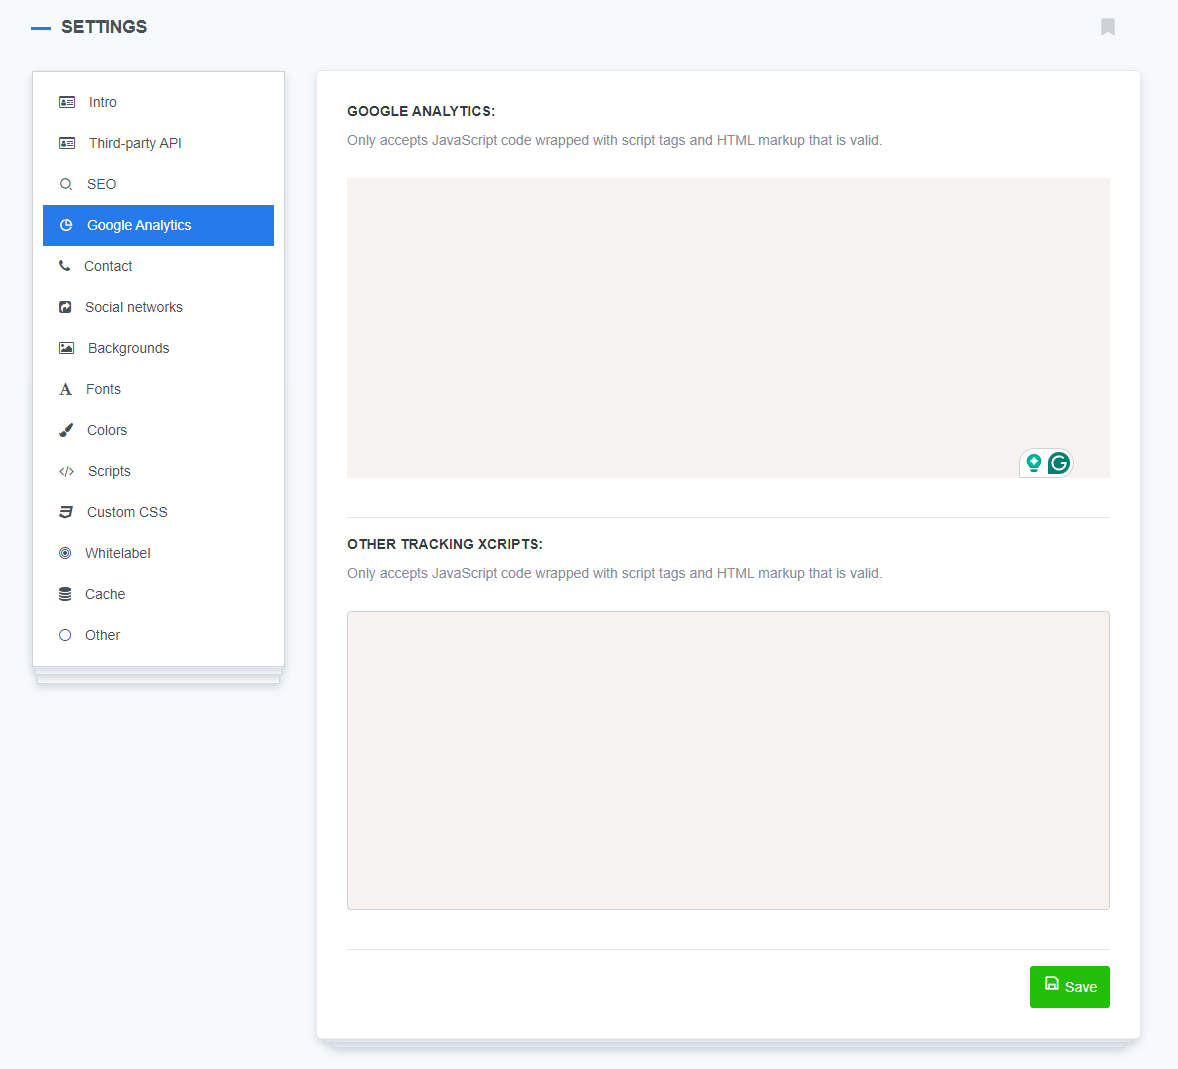
- Google Analytics
Enable tracking for site traffic and user behavior. Paste your Google Analytics tracking code into the JavaScript editor. This will enable the collection of valuable insights about visitor activity, page views, conversion tracking, and more.
- Contact, Social networks
Easily manage contact details and social media links displayed on your website.
Use custom fields to input your contact email, phone number, and social media profiles (e.g., Facebook, X (Twitter), LinkedIn). These fields help users reach your business or follow your updates on social platforms. - Backgrounds, Fonts, Colors
Personalize your website's visual design. Customize your site’s background, typography, and color schemes by using custom fields to override the default theme settings. This gives you control over your website's overall branding. - Scripts, Custom CSS
Implement advanced customizations through JavaScript and CSS. Add custom JavaScript code for the header or footer sections to introduce advanced functionality (e.g., chatbots, third-party integrations). Use the CSS editor to apply custom styling that overrides the default theme CSS. - Whitelabel
Customize the look of your ReadyCMS by replacing the default logo with your own, helping reinforce your branding. - Cache
Improve website performance by enabling caching, which speeds up page load times and reduces server load by temporarily storing website data. - Other
Add additional fields or custom values for further site customization.
Tip:
You can use the General Settings panel to add unique fields as needed, offering full flexibility to tailor the website’s functionality to your specific requirements.
What's next?
After configuring your general settings, you may want to learn more about SEO in ReadyCMS and how we tackle this super important subject: SEO and ReadyCMS.
Previous topic: Languages