While adding new users may not be a frequent task, it's crucial to ensure the process is straightforward and intuitive. In ReadyCMS, you can specify the registration type, roles, and status of each new user.
Steps to add new users
- Login: Sign in to your ReadyCMS account.
- Navigation: Navigate to Users > Add new from the Settings dropdown menu located in the main navigation bar.
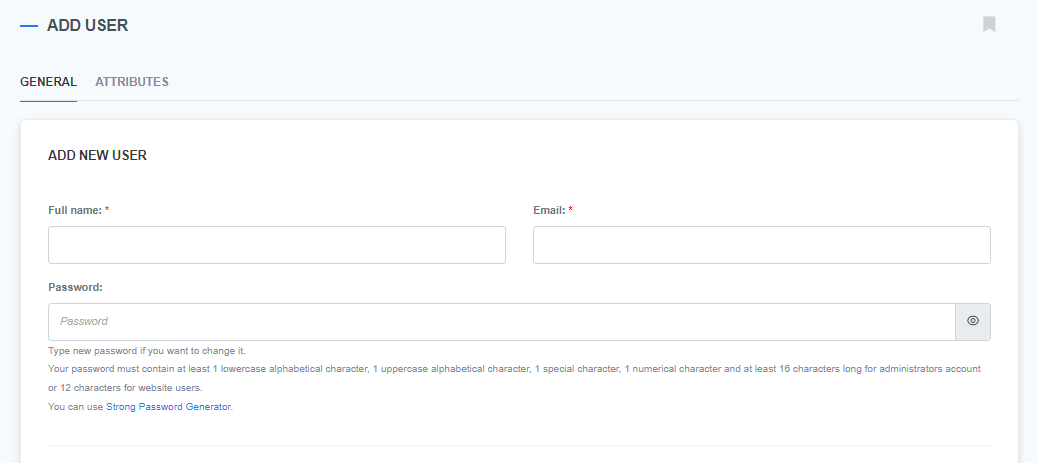
- User details: The Add user page will appear. Here, input the user's name, email address, and password. These details are essential for the user to log into the system.
- Personal information (Optional): Provide additional details such as address, zip/postal code, city, country, company name, phone numbers, and website.

- Account settings: In this section, select the Admin option for Registration type. Then, choose the appropriate role based on the user's responsibilities.
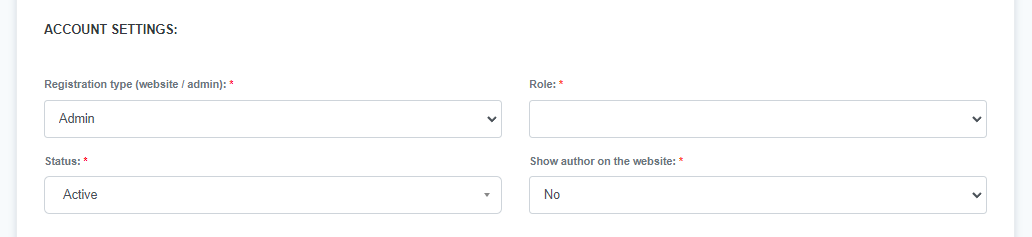
Tip: This process is applicable for setting both website and admin user roles.
- Activation: Set the user's account status to Active to allow them access.
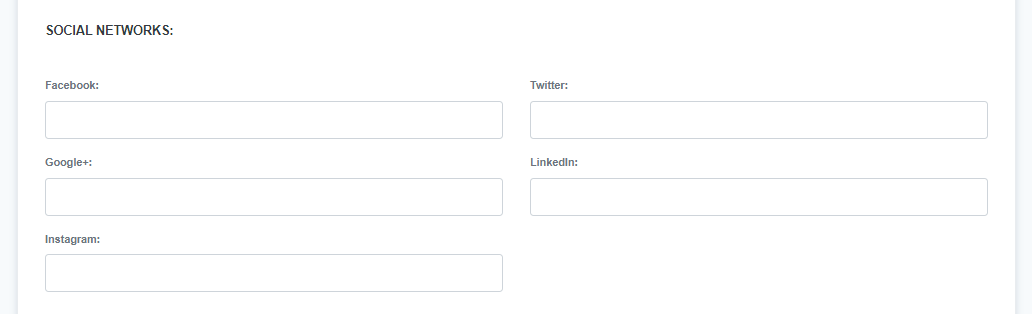
- Social networks: Optionally, you can link the user's social media profiles, such as Facebook, Instagram, LinkedIn, etc.
- Confirmation: Finalize the user addition by clicking the Add new button.
Customizing roles and permissions
ReadyCMS offers a robust system for user roles and permissions. After adding users, you can assign specific roles and fine-tune their permissions. It's even possible to have users with identical roles but varying permissions.