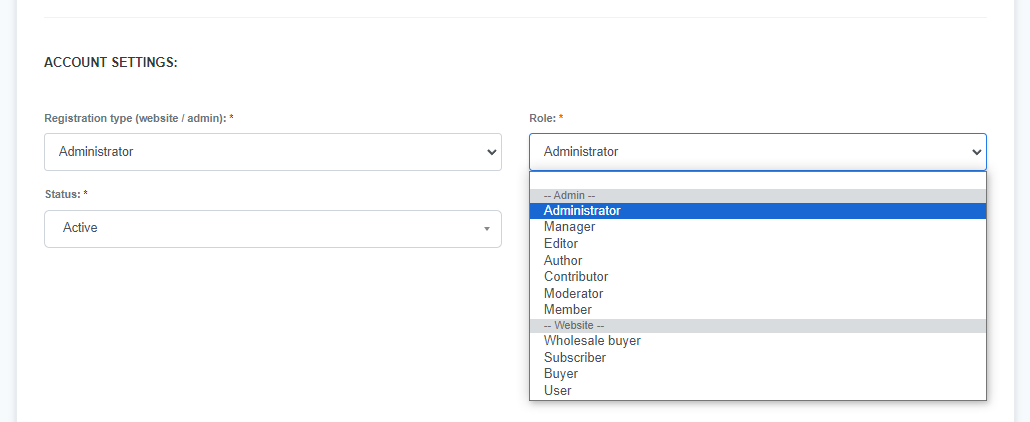
Assigning the right role to a user is crucial for managing access and permissions within ReadyCMS. Whether you're onboarding a new user or updating an existing one, the process for role assignment remains consistent. Each role comes with its set of permissions and restrictions, allowing you to tailor access based on individual responsibilities.
Steps to assign a role to a user
- Login: Sign in to your ReadyCMS account.
- Navigation: From the main navigation bar, select Users > All users in the Settings dropdown menu.
- User selection: Browse the list to find the user you wish to edit. Once located, click the Edit button adjacent to their name.

- Role assignment: Within the Account Settings section, select the desired role from the dropdown menu.

- Save changes: Ensure you confirm the role assignment by clicking the Save button.
Further customization
Roles provide a foundational level of access, but you can further refine user permissions for more granular control. Whether users have the same or different roles, you can customize their access levels.
Learn how to set additional permissions for users.