Your website can have multiple versions (locales) in different languages.
By applying multiple languages, you can connect a specific content type to a specific locale. This means certain content can be targeted at a specific website dedicated to a certain country or language users.
Email templates (like shop email templates) can be translated into additional languages, which allows you to customize your notification system and bring your services closer to your customers.
Here, you can learn how to manage language settings and add new languages.
Managing language settings
- Login: Sign in to your ReadyCMS account
- Navigate: Go to
Languages>All languages
- Translation page: The page which contains the list of registered languages

If you need to change settings for the existing languages (e.g., English), click theEditbutton in the corresponding row. - Format: You can change the General settings of the language (Title, Slug, Status)
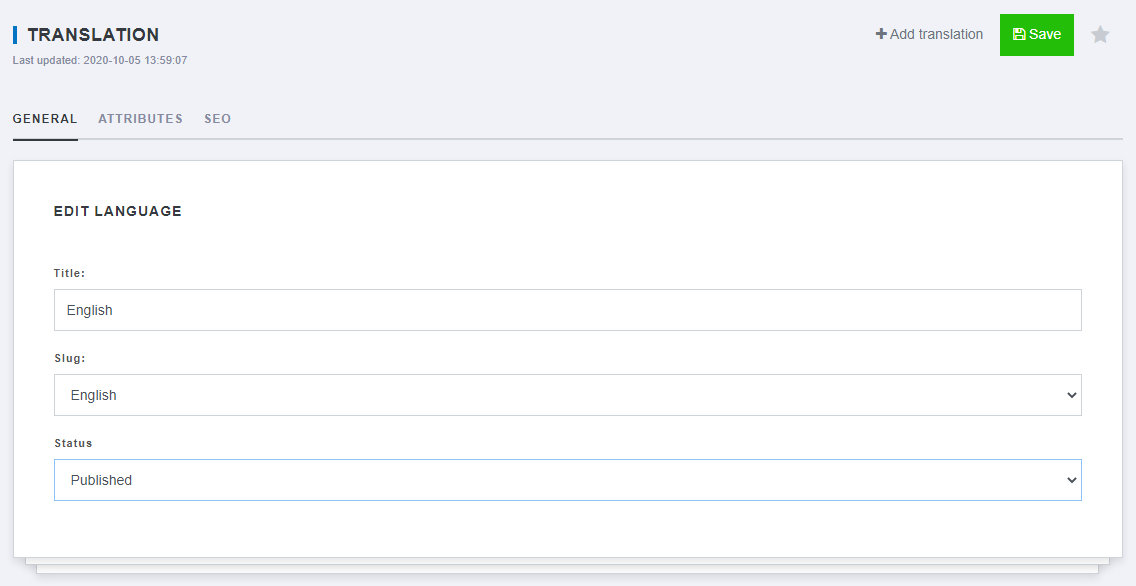
You can edit the language title or slug if they don't match, or you can change the status to delete or remove a language from the website. - Attributes tab: Here, you can add key-value pairs to represent additional data and further customize your website.

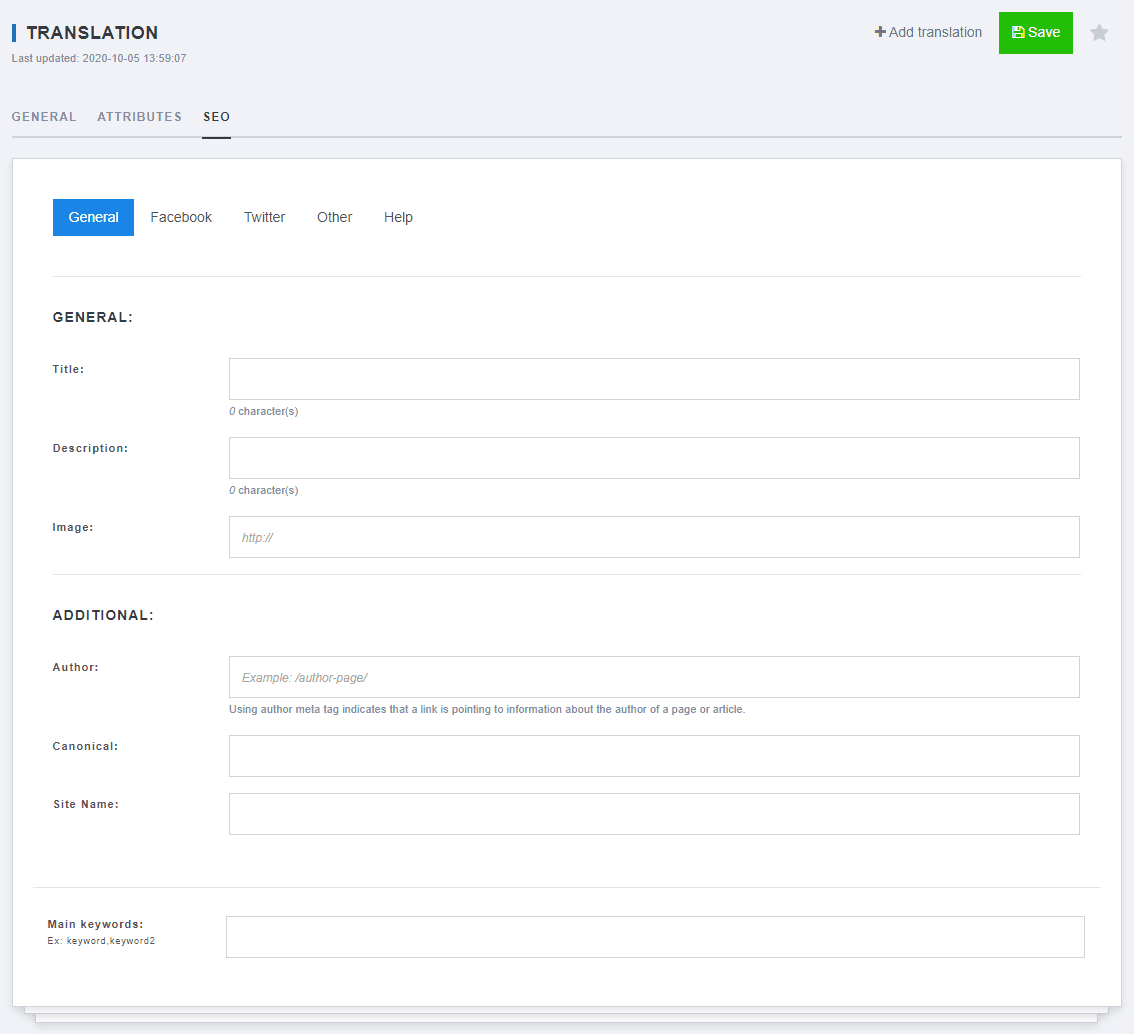
- The SEO tab: It contains settings related to the optimization of the content in this specific language.
- Save: Click the
Savebutton to confirm the changes
How to add a new language
- Login: Sign in to your ReadyCMS account
- Navigate: Go to
Languages>Add language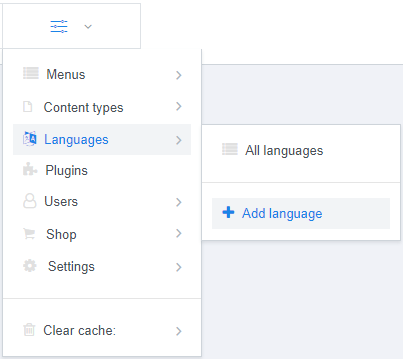
- New language page: Enter the necessary information on the Add new language page

- Enter the language in the Title field.
- In the Slug dropdown menu, choose the appropriate language (this will generate the slug for that language)
- Set the status as Published.
- Save: After clicking the
Savebutton, the added language will appear in the list of registered languages on the Translation page.
What's next?
Your website can have multiple versions in different languages. This topic covers how to manage website settings for specific languages.