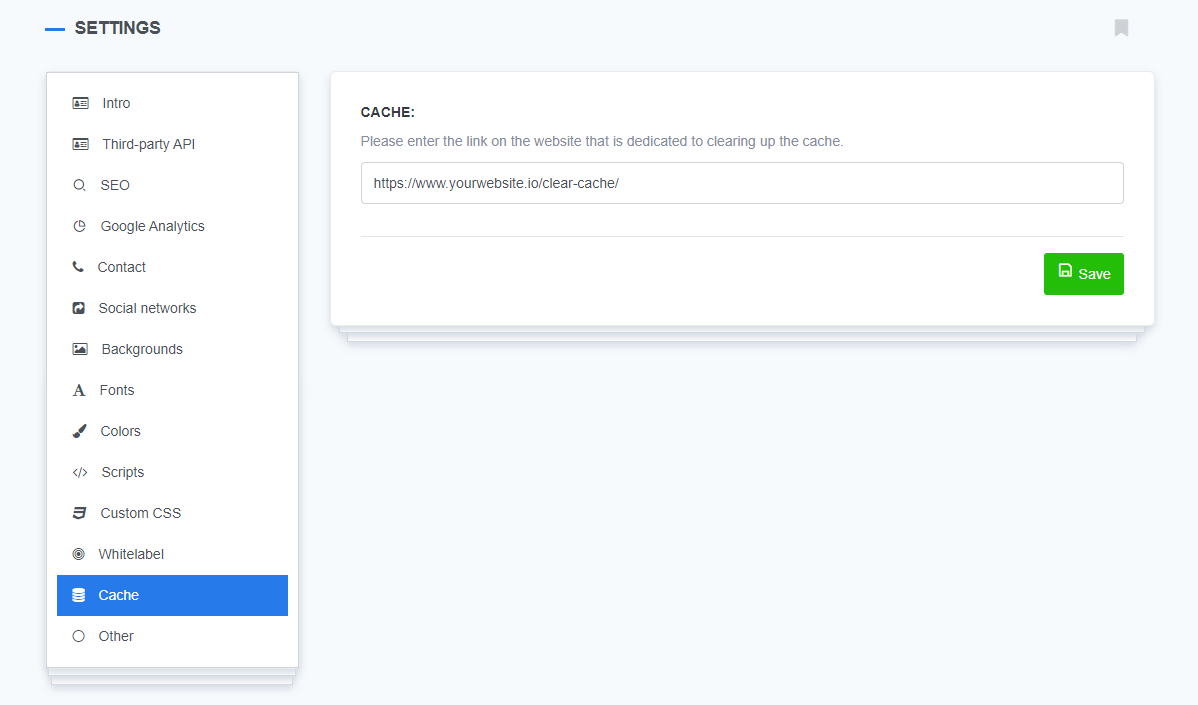
If your website has a website caching feature developed and implemented, you can enable it in ReadyCMS. Afterward, you can use the Clear cache > Website cache feature within ReadyCMS.
We strongly recommend creating a cache feature for your website because it can greatly improve the performance and, thus, the user experience.
Note:
Clearing the admin cache is available without affecting the website cache.
How to enable the website caching in ReadyCMS
- Login: Sign in to your ReadyCMS account
- Navigate: Go to
Settings>Generalin the dropdown menu - Select: In the main Settings panel, go to the
Cachetab
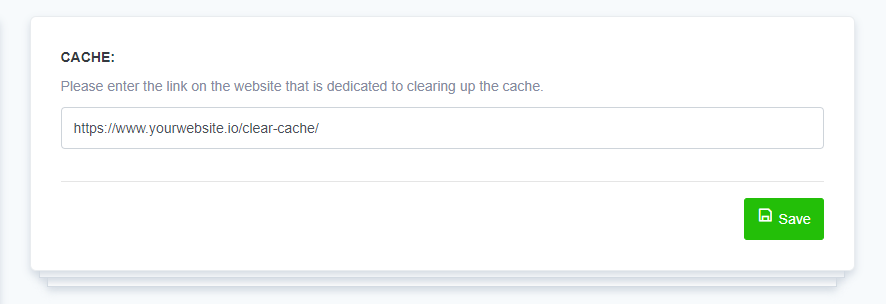
- Fill in: Enter the link dedicated to clearing up the cached data from your website.

- Save: Confirm the changes by clicking the
Savebutton
What's next?
Learn how to clear cache, both from the website and ReadyCMS admin.
Previous topic: Caching website