Once you have added multiple store locations and enabled the inventory tracking option, each product will have new options that allow you to manage inventory per location rather than per product or variable.
How to enable inventory tracking
- Sign in: Log in to your ReadyCMS account
- Navigate: In the Settings dropdown menu in the navigation bar, click on
Shop>Store locations - Edit: In the Store locations table, click the
Editbutton (next to the store location you want to edit)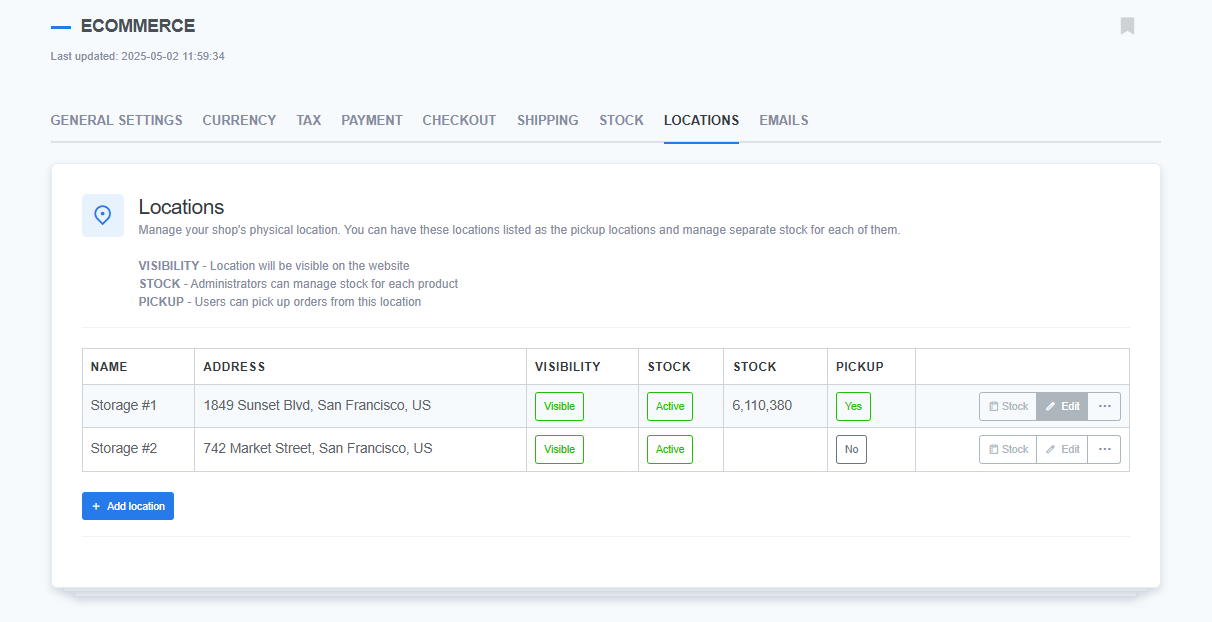
- Enable: On the Edit location page (or the Add location page if you are adding new), click the toggle switch button for the "Manage stock for this location" option
- Save: Click the
Savebutton to confirm changes (orAdd locationbutton when adding new locations)
How to manage inventory per location
Now that you have enabled stock management for different locations, you can adjust stock per location for every product
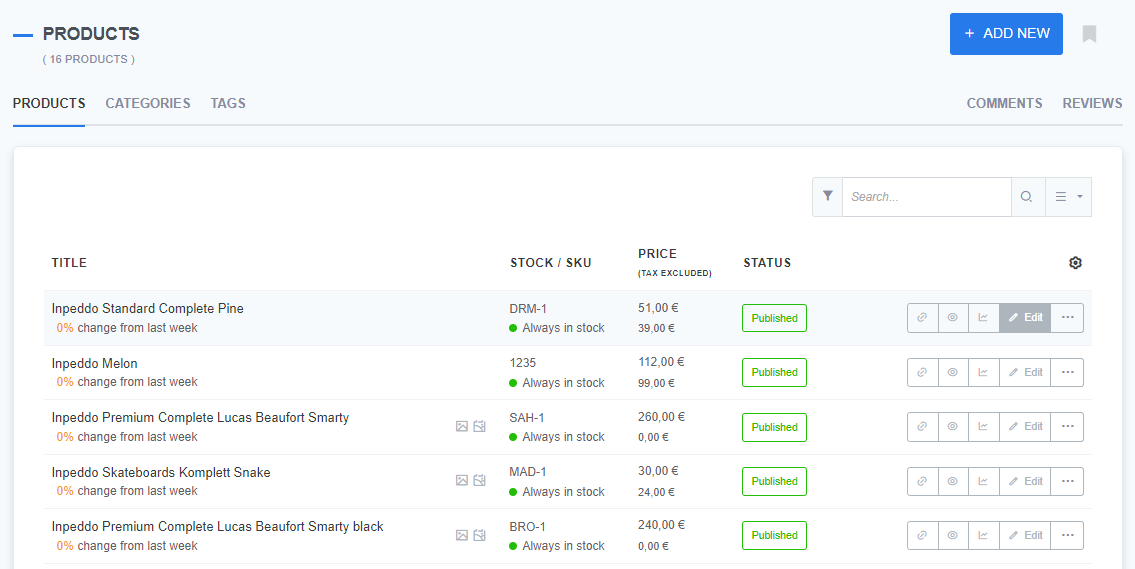
- Go to: Click on
Shop>Products>All products - Edit: In the list of products, click on the Edit button (next to the product you want to edit)
- Stock: Click on the Stock tab of your Edit product page
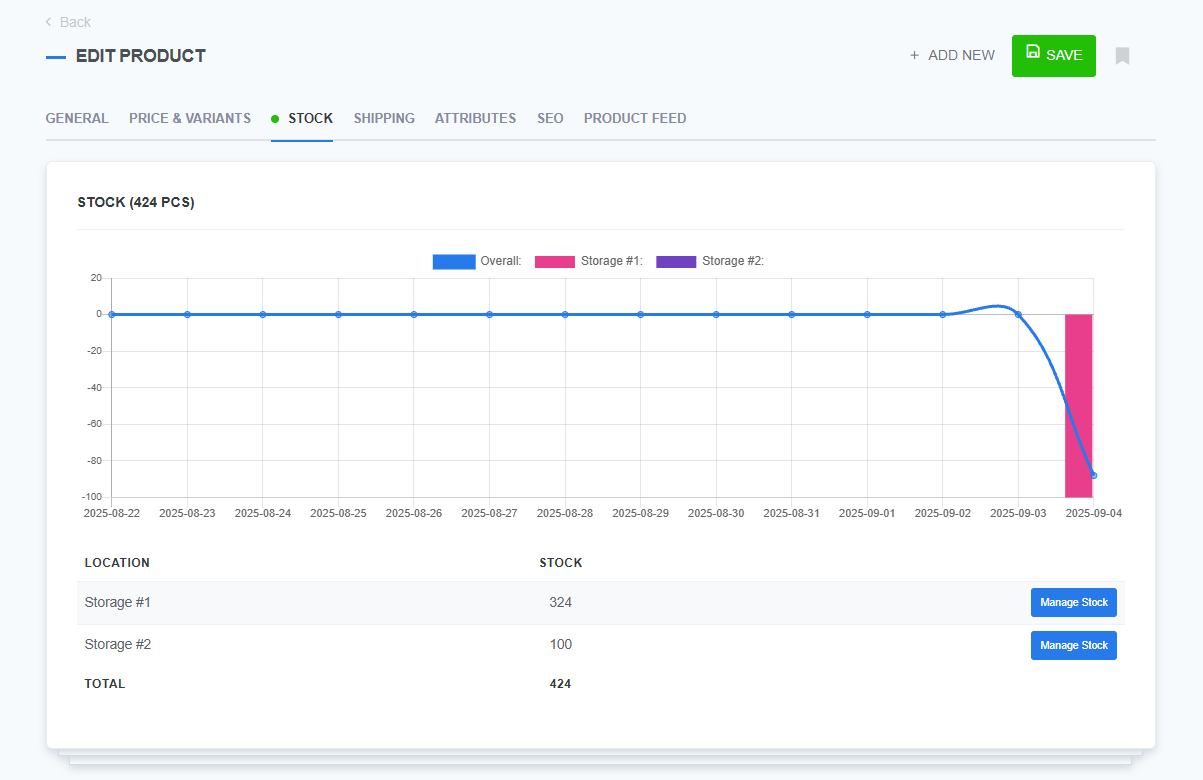
- Manage stock: There will be a list of store locations (locations where you toggled on the "Manage stock for this location" option)
- Assign: Clicking the
Manage Stockbutton pops up a window for inventory transactions
- Confirm: Click the
Add Inventorybutton and then save to confirm changes
Important: If the product has variations defined, stock will be defined on the variant level.
What's next?
To learn more about variants and stock interactions, check out the Managing variant stock page.
Related topics